
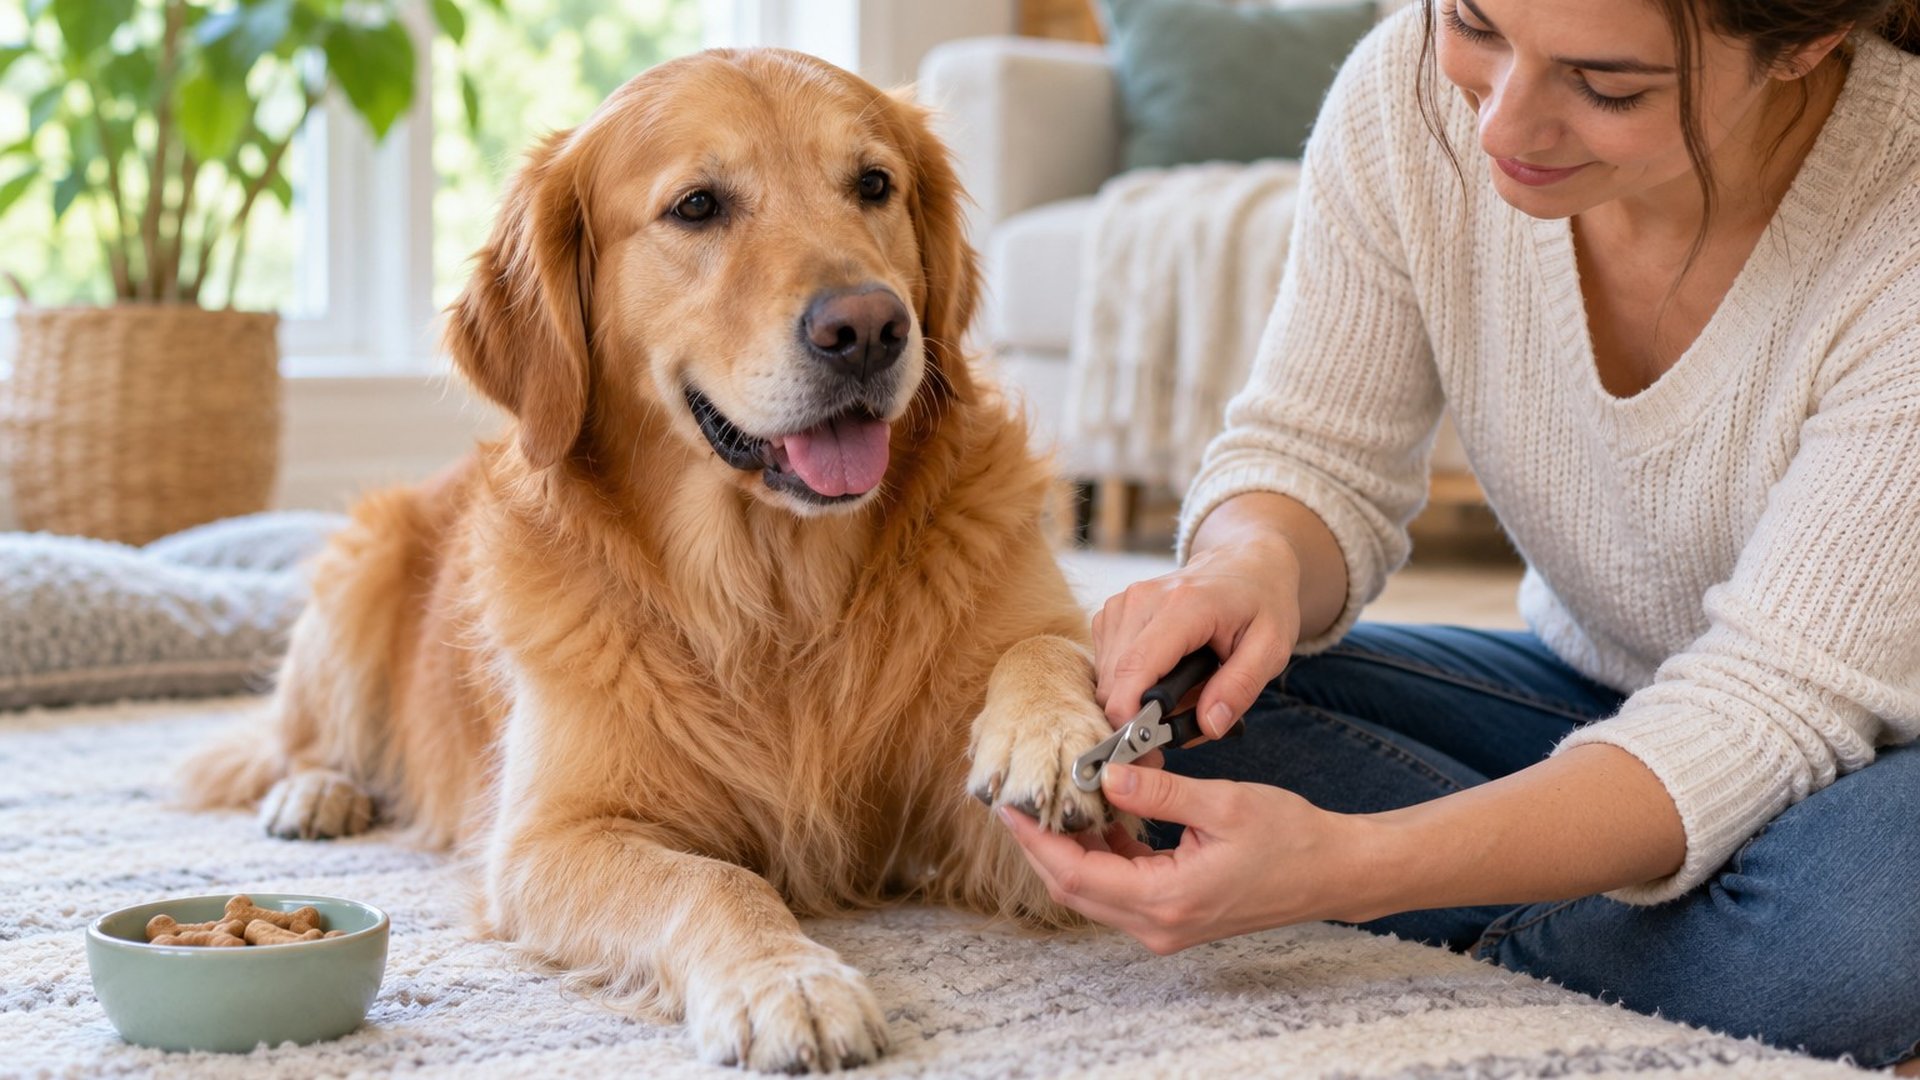
To trim your dog’s nails at home without stress, first teach your dog that paw handling and the clippers predict good things, then take off only a tiny tip of each nail, one or two nails at a time, and stop while your dog is still relaxed and happily taking treats. Keep styptic powder nearby in case you nick the quick. Go slowly over days or weeks rather than finishing every paw in one go. A short, happy session beats a full trim that leaves your dog dreading the next one.
This guide covers finding the quick, choosing clippers or a grinder, a step-by-step confidence plan, what to do if a nail bleeds, and when to let a groomer, vet nurse or vet take over.
- Build comfort before you cut. Pair paw touches and the sight of the tool with food until your dog is relaxed about both.
- Little and often wins. Trim a small amount, roughly monthly for many dogs, so nails never get long.
- Your dog sets the pace. If they stop eating, pull away or freeze, stop and make the next step easier.
- Clipper or grinder both work. Choose the one your dog tolerates best and you can use confidently.
- Nicked the quick? Stay calm, apply styptic powder, and call your vet if the bleeding doesn’t stop.
At a glance
- Teach your dog that paw handling and the clippers predict treats before you ever cut a nail.
- Take off only a tiny tip, one or two nails at a time, and stop while your dog is still relaxed and eating.
- Most dogs need a trim about once a month; clicking on hard floors is a sign nails are too long.
- On dark nails, take slivers of 1 to 2 mm and stop when a grey-to-pink oval appears in the cut surface.
- Never hold your dog down or push on once they are worried, as that builds fear for next time.
- If you nick the quick, apply styptic powder and call your vet if bleeding will not stop or the toe looks sore.
Why nail trims matter
Overlong nails can change how a dog stands and walks, catch on carpet or bedding and split, and in time curl round into the paw pad. Dewclaws, the “thumb” nails higher up on the inside of the leg, are especially prone to this because they never touch the ground. VCA Animal Hospitals’ guidance notes that most dogs need a trim about once a month, while dogs who walk a lot on concrete or pavement may wear their nails down naturally and need trims less often, and quieter dogs or those mostly on grass or carpet may need them more often.
Two easy signs that nails are too long: you can hear them clicking on hard floors, or the nail tips touch the ground when your dog is standing still.
Understanding the quick
Inside each nail is the quick, a living core of blood vessels and nerves. Cutting into it hurts and bleeds, and one bad experience can make a dog wary of trims for a long time.
Light-coloured nails
On pale nails you can usually see the pink quick through the nail. VCA suggests cutting about 2 to 3 mm short of it.
Dark nails
On black or dark nails the quick is hidden, so take tiny slivers of 1 to 2 mm at a time and look at the cut end after each one. Washington State University’s veterinary teaching hospital advises stopping when you see a grey-to-pink oval appear in the centre of the cut surface, because the quick is just beyond it. Stopping around the point where the nail starts to curve downwards is a sensible guide too.
Long nails and the quick
When nails haven’t been trimmed for a while, the quick can grow out long with them, so you can’t simply cut a long nail back to a “normal” length in one go. Take small amounts regularly instead, and ask your vet or vet nurse for help if the nails are very long or curling.
Choosing your tool: clippers, grinder or scratch board
| Tool | How it works | Good for | Watch out for |
|---|---|---|---|
| Guillotine clippers | The nail tip goes through a hole and a blade slices across it | Small to medium dogs; quick, clean cuts | Keep the blade sharp; hard to see exactly where you’re cutting at first |
| Scissor-style clippers | Two curved blades close like scissors | Thicker nails, larger dogs and dewclaws | Choose a size that suits your dog’s nails; blunt blades crush rather than cut |
| Nail grinder | A rotating file sands the nail down gradually | Dogs with dark nails or long quicks; smoothing rough edges | Noise and vibration need careful introduction; long fur can tangle; a slip can burn the skin; dust |
| Scratch board | A board covered in sandpaper that your dog learns to scratch | Front nails on dogs who are worried about handling | Usually doesn’t reach back nails or dewclaws well; takes training |
| Professional trim | A groomer, vet nurse or vet does it | Very long or ingrown nails, very fearful dogs, if you’re unsure | Choose someone who works gently and lets you stay and feed treats |
VCA’s guidance on grinders flags some practical safety points: long fur around the paws can get caught in the tool, so tidy it first; a slip can burn the skin, so work in light, brief touches; and the dust can irritate people and pets, so working outdoors is a good idea. Introduce the grinder exactly as gradually as you would clippers, including the sound on its own, before it ever touches a nail.
Whatever you choose, have everything ready before you start: the tool, styptic powder, plenty of small, tasty treats, and a non-slip surface such as a yoga mat or rug. If your dog’s coat is thick around the feet, home grooming by coat type covers keeping paw fur tidy.
Before you start: reading your dog
Cooperative care means your dog is a willing participant, not something to be held down. That only works if you notice when they’re uncomfortable. Signs your dog is telling you “that’s too much” include:
- refusing treats they’d normally love, or taking them roughly
- pulling the paw away, or moving away from you
- freezing, going stiff or holding very still
- lip licking, yawning, turning the head away or showing the whites of the eyes
- panting when not hot, trembling, or tucking the tail
- growling, lifting a lip or air-snapping
These are all important communication, not disobedience. A growl in particular is a useful warning, so never punish it; simply stop and make the next session easier. How to spot the hidden signs of stress in your dog and understanding canine body language help you read the subtler signals early.
Step-by-step: teaching your dog to love nail time
This plan uses desensitisation (introducing things in tiny, easy steps) and counter-conditioning (pairing each step with something your dog loves, so the feeling changes from “uh-oh” to “yes, treats!”). The San Diego Humane Society’s guide to clipping nails at home follows a similar sequence. Each stage might take one session or several over days or weeks. Only move on when your dog is relaxed and eagerly eating at the current stage.
- Set up a happy spot. Choose a quiet time when your dog is relaxed. Put down a non-slip mat and sit on the floor with them, rather than looming over them.
- Touch, then treat. Stroke your dog’s shoulder and leg, then briefly touch a paw for a second and give a treat. Repeat until your dog looks happy when you reach for their paw.
- Build up handling. Gradually lengthen touches, then gently hold the paw, then lightly press each toe as you would when trimming, treating every time.
- Meet the tool. Put the clippers or grinder on the floor. Treat your dog for sniffing or looking at it. Then pick it up and treat. For a grinder, switch it on at a distance and treat, then put it away.
- Bring the tool closer. Move the tool towards the paw and treat, then touch it to a paw, then to a nail, without cutting. Withdraw if your dog stops eating or stiffens.
- Make the first cut tiny. Hold the paw, take a very small tip off one nail, then release the paw and give a jackpot of treats. That’s a great session. Stop there.
- Add nails slowly. Over the following sessions, do one or two more nails each time, always stopping while your dog is still happy.
- Finish on a good note. Use a cheerful “all done” cue, put the tool away and let your dog relax or play.
Helpful extras
- Lick mats: spread a lick mat with something your dog enjoys and is safe for them, and stick it to a wall or the floor. Many dogs settle while licking, which keeps their focus on something pleasant.
- Treat scatter: between nails, scatter a few treats on the floor for your dog to sniff out. It gives them a short break and keeps the mood light.
- A “ready” signal: some dogs learn to rest their chin on a cushion or your hand to say “I’m ready”. If they lift their head, you pause. This gives your dog a sense of control, which often makes them more comfortable, not less.
- A scratch board: teaching your dog to scratch a sandpaper board for treats can keep front nails short with no handling at all.
If you’re new to reward-based training, positive reinforcement dog training: a beginner’s guide explains timing and rewards. Starting gently with a puppy pays off for life; the puppy’s first year guide includes handling as part of early care.
How to trim a nail, once your dog is comfortable
- Hold the paw gently but securely, with your thumb on the pad and a finger on top of the toe, so the nail is extended.
- Identify the quick on pale nails, or plan small slivers on dark ones.
- Position the clipper so you’re taking just the tip, cutting at a slight angle that follows the natural curve of the nail.
- Cut in one smooth, confident motion, then check the cut end.
- Reward, and give your dog a short break before the next nail.
- Don’t forget the dewclaws if your dog has them.
- Smooth sharp edges with a file or grinder if your dog is happy with it.
What to do if you nick the quick
It happens to experienced owners too. The nail may bleed a lot, which looks alarming, but it can usually be managed at home.
- Stay calm and speak softly. Your dog takes cues from you.
- Apply styptic powder to the end of the nail, pressing it on with gentle pressure. If you don’t have styptic powder, VCA notes that plain flour or cornflour (cornstarch) can be used instead.
- Hold gentle pressure with a clean cloth for a few minutes. Washington State University’s veterinary hospital notes that without styptic powder a cut nail may take around five minutes to stop bleeding.
- Keep your dog quiet for a while afterwards so the clot isn’t knocked off.
- Stop the session there and offer something lovely. Come back to nail work another day, a step or two back in your training plan.
Call your vet if the bleeding won’t stop after several minutes of pressure, if the nail is split or torn, or if the toe later looks swollen, red or sore, or your dog keeps limping or licking it. How to know when to call the vet helps you decide how urgent other signs are.
When to let a groomer, vet nurse or vet do it
Choosing professional help is a kind decision, not a failure. Consider it when:
- nails are very long, curled or growing into the pad
- a nail is cracked, split or bleeding
- your dog is very fearful, or has growled, snapped or bitten during handling
- your dog has painful joints or other health problems that make handling uncomfortable
- you’re unsure where the quick is, especially on dark nails
Many vet clinics will show you how to trim your dog’s nails, or offer nail clips with a vet nurse. Look for a professional who uses gentle, low-stress handling, works at your dog’s pace and lets you feed treats. For a dog with strong fear, ask your vet whether a referral to a qualified behaviour professional, or extra support such as medication before appointments, might help. A dog who is fearful in general may benefit from the steps in building confidence in a fearful or rescue dog.
Common mistakes to avoid
- Trying to do all the nails at once. Pushing on after your dog becomes worried makes the next session harder.
- Holding your dog down. Restraint may finish today’s trim but builds fear for the future. Go back a step instead.
- Taking too much in one cut. Small slivers protect the quick, especially on dark nails.
- Using blunt or wrong-sized clippers. They crush rather than cut.
- Only bringing the clippers out for trims. Practise short, treat-filled handling sessions with no cutting at all, so the tool doesn’t always predict a trim.
- Leaving long gaps between trims. Long nails mean longer quicks and harder trims.
- Forgetting the dewclaws. They don’t wear down and can curl into the skin.
The same step-by-step, reward-based approach works for ear checks, which makes vet visits easier too.
Sources this guide draws on: VCA Animal Hospitals’ guidance on trimming dogs’ nails; Washington State University Veterinary Teaching Hospital’s guidance on clipping a dog’s nails; Vetwest Animal Hospitals’ guide to trimming nails; and the San Diego Humane Society’s training tips for clipping nails at home using desensitisation and counter-conditioning.
Handy gear for this guide
Practical picks we think suit this topic. As an Amazon Associate, Mind A Dog earns from qualifying purchases, at no extra cost to you. Prices and availability are set by Amazon and may vary by country.
- Swihauk Self-Cleaning Slicker Brush
Lifts loose undercoat, then a button clears the hair off the pins.
View on Amazon - Casfuy Quiet Dog Nail Grinder
Two-speed grinder for gradual, gentle nail trims at home.
View on Amazon - Hepper Bio-Enzyme Pet Stain and Odour Spray
Enzyme cleaner for accidents on carpets, floors and bedding.
View on Amazon
Frequently asked questions
How often should I trim my dog’s nails?
Many dogs need a trim about once a month, but it depends on the dog and how much they walk on hard surfaces. Check every couple of weeks: if the nails click on the floor or touch the ground when your dog stands, they’re due. Little and often is easier for you and your dog.
Is it better to clip or grind dog nails?
Both work well. Clippers are quick and quiet, while grinders take nails down gradually, which can reduce the risk of cutting the quick and leave a smoother edge. The best tool is the one your dog is comfortable with after careful introduction, and the one you can use confidently.
How do I trim black dog nails without hitting the quick?
Take tiny slivers of 1 to 2 mm at a time and look at the cut end after each one. When a grey-to-pink oval appears in the middle of the cut surface, stop, as the quick is close. A grinder can make it easier to work gradually on dark nails.
My dog hates nail trims. What can I do?
Go right back to the beginning: touch a paw for a second, give a treat, and build up in small steps over days or weeks, stopping before your dog becomes worried. Lick mats, treat scatters and a helper make it easier. If your dog is very fearful or has tried to bite, ask your vet for help and a referral to a qualified, reward-based behaviour professional.
Nail trims don’t have to be a battle. With patience, plenty of treats and a willingness to stop early, many dogs learn to accept, and even enjoy, a few moments of paw care. Keep sessions short, celebrate small wins, and remember a gentle professional is always a good option.